Select Your Country/Region
Current Region:
![]() USA (EN)
USA (EN)
Current Region:
![]() USA (EN)
USA (EN)
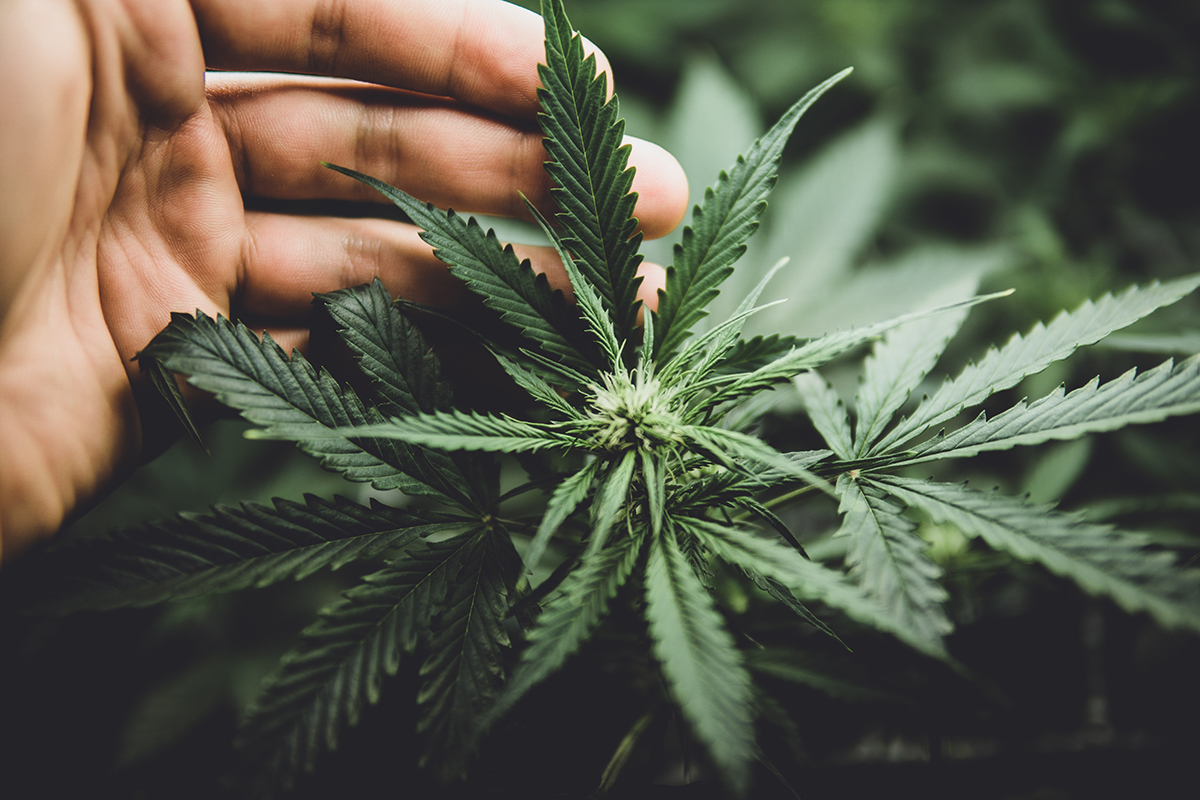
Your choice of cannabis genetics significantly affects growth speed, nutrient uptake, resistance to pests, and overall yield. For fast results, auto-flowering strains are ideal, as they transition from seed to harvest in 8–12 weeks.
However, they typically produce smaller yields than photoperiod plants, which require a controlled light cycle to trigger flowering but offer larger harvests. Indica-dominant strains are shorter and bushier. This makes them great for indoor spaces with low ceilings. Sativa-dominant plants grow tall and need more training.
Hybrid strains offer a balance of both characteristics. If consistency is important, growing from clones ensures genetic stability and uniform growth, though they can carry pests or diseases from the mother plant. Starting from seeds gives you new genetics and stronger roots. However, germination takes longer and plants can vary naturally.
The growing medium plays a critical role in how cannabis absorbs nutrients and water, which directly affects fertigation efficiency.
Traditional soil is a good choice for beginners. It should be well-aerated. You can add perlite or vermiculite to stop it from compacting. The ideal pH for soil-based cannabis cultivation is between 6.0 and 7.0.
If you choose coco coir, you must pre-buffer it with calcium and magnesium before planting, as coco naturally retains potassium and can cause deficiencies. Coco drains well but requires frequent watering, often multiple times a day in high-intensity lighting conditions.
Rockwool is an inert medium that holds moisture well. However, it needs to be soaked in pH-adjusted water first. The water should have a pH between 5.5 and 6.5 before use.
In deep water culture (DWC) systems, oxygen is important to stop root rot. Air stones and pumps need to run all the time. This keeps the roots in nutrient-rich, oxygen-filled water.
Fertigation is the careful delivery of nutrients through irrigation. It helps cannabis get the right balance of macronutrients, like nitrogen, phosphorus, and potassium. It also provides micronutrients, such as calcium, magnesium, and iron, at each growth stage.
Using a fertilizer injector like a Dosatron hydroponic dosing pump automates nutrient mixing and ensures consistency in nutrient delivery. This precision is especially beneficial for hydroponic setups where nutrient levels must remain stable.
During the seedling stage, cannabis needs few nutrients. The electrical conductivity (EC) should be about 0.4 to 0.6. The pH level should be between 5.8 and 6.3.
In the vegetative stage, nitrogen is the main nutrient for quick leaf growth. The EC range should be 1.0 to 1.5.
As the plant moves into the flowering phase, reduce nitrogen levels. Increase phosphorus and potassium levels to help bud development. Keep the EC between 1.8 and 2.2.
Monitoring pH is critical, as improper pH can lock out essential nutrients, leading to deficiencies. Regularly flushing the growing medium every few weeks prevents salt buildup, and a final flush before harvest removes excess nutrients to improve the flavor of the final product.
Light is one of the most important factors in cannabis cultivation, directly impacting growth rate, yield, and cannabinoid production.
Indoor growers should use full-spectrum LED lights or high-pressure sodium (HPS) bulbs, depending on energy efficiency and budget. During the vegetative stage, cannabis requires 18 to 24 hours of light per day to maximize growth.
When transitioning to the flowering stage, the light cycle must be reduced to 12 hours of light and 12 hours of uninterrupted darkness to trigger bud formation.
Even a small light leak during the dark period can stress plants, causing them to hermaphrodite or revert to vegetative growth. If you growing outdoors, you should be mindful of natural daylight hours and plant their crops accordingly to ensure a long vegetative period before flowering is triggered naturally.
Temperature and humidity play a crucial role in plant metabolism and disease prevention. Seedlings thrive at temperatures between 70–78°F (21–26°C) with a high humidity of 65–70% to promote root growth. In the vegetative stage, temperatures should remain between 72–85°F (22–29°C) with a humidity range of 50–70% to encourage fast foliage growth.
During flowering, humidity should be gradually reduced to 40–50% to prevent mold and bud rot while maintaining temperatures between 65–80°F (18–26°C). After harvest, drying and curing cannabis at 60–70°F (15–21°C) with 50–60% humidity for 7–14 days ensures a smooth, flavorful final product.
Good airflow is essential for preventing mold and pests while strengthening plant stems. Indoor growers should use oscillating fans to create gentle air movement across the canopy, reducing the risk of fungal infections like powdery mildew.
An exhaust fan with a carbon filter helps remove excess heat and humidity while controlling odors. Intake fans or passive ventilation bring in fresh air, supplying plants with the carbon dioxide they need for photosynthesis. Without proper ventilation, stagnant air can lead to weak plant structure and slow growth.
Training techniques help maximize light exposure and yield. Topping involves cutting the main stem early in the vegetative stage to encourage lateral growth, resulting in multiple main colas instead of a single dominant one.
Low-stress training (LST) gently bends branches to create an even canopy, allowing more light to reach lower bud sites. The Screen of Green (ScrOG) method uses a trellis net to spread out the canopy, ensuring all branches receive optimal light exposure.
Supercropping involves pinching and bending stems to strengthen them and encourage bushier growth. Proper training can significantly increase bud production and overall yield.
Cannabis is susceptible to pests such as spider mites, thrips, and fungus gnats, which can quickly damage plants if left untreated. Regularly inspecting the underside of leaves and using sticky traps can help detect infestations early.
Natural pest control methods, such as neem oil and predatory insects like ladybugs, can keep populations in check.
Common diseases like powdery mildew and bud rot thrive in high humidity, so maintaining proper airflow and lowering humidity levels in late flowering helps prevent outbreaks. If mold or pests appear, act quickly with organic or targeted treatments to minimize damage.
Proper irrigation ensures cannabis plants receive the right amount of moisture without overwatering. The frequency of watering depends on the growing medium, temperature, and humidity levels. Soil growers should allow the top inch of soil to dry out between waterings, while hydroponic systems require continuous nutrient circulation.
Using filtered or reverse osmosis (RO) water helps prevent contaminants like chlorine and heavy metals from affecting plant health. In fertigation systems, maintaining consistent nutrient concentrations (EC levels) and adjusting pH regularly ensures plants receive optimal nutrition.
Harvesting at the right time ensures maximum potency and flavor. Cannabis is ready for harvest when trichomes turn from clear to milky white with some amber, indicating peak cannabinoid production. After cutting down plants, they should be dried in a dark, well-ventilated room at 60–70°F (15–21°C) with 50–60% humidity for 7–14 days.
Proper drying prevents harsh-tasting buds and preserves terpenes. Curing involves storing dried buds in glass jars, opening them daily for the first two weeks to release excess moisture before sealing them for long-term storage. This process enhances flavor, smoothness, and overall quality.
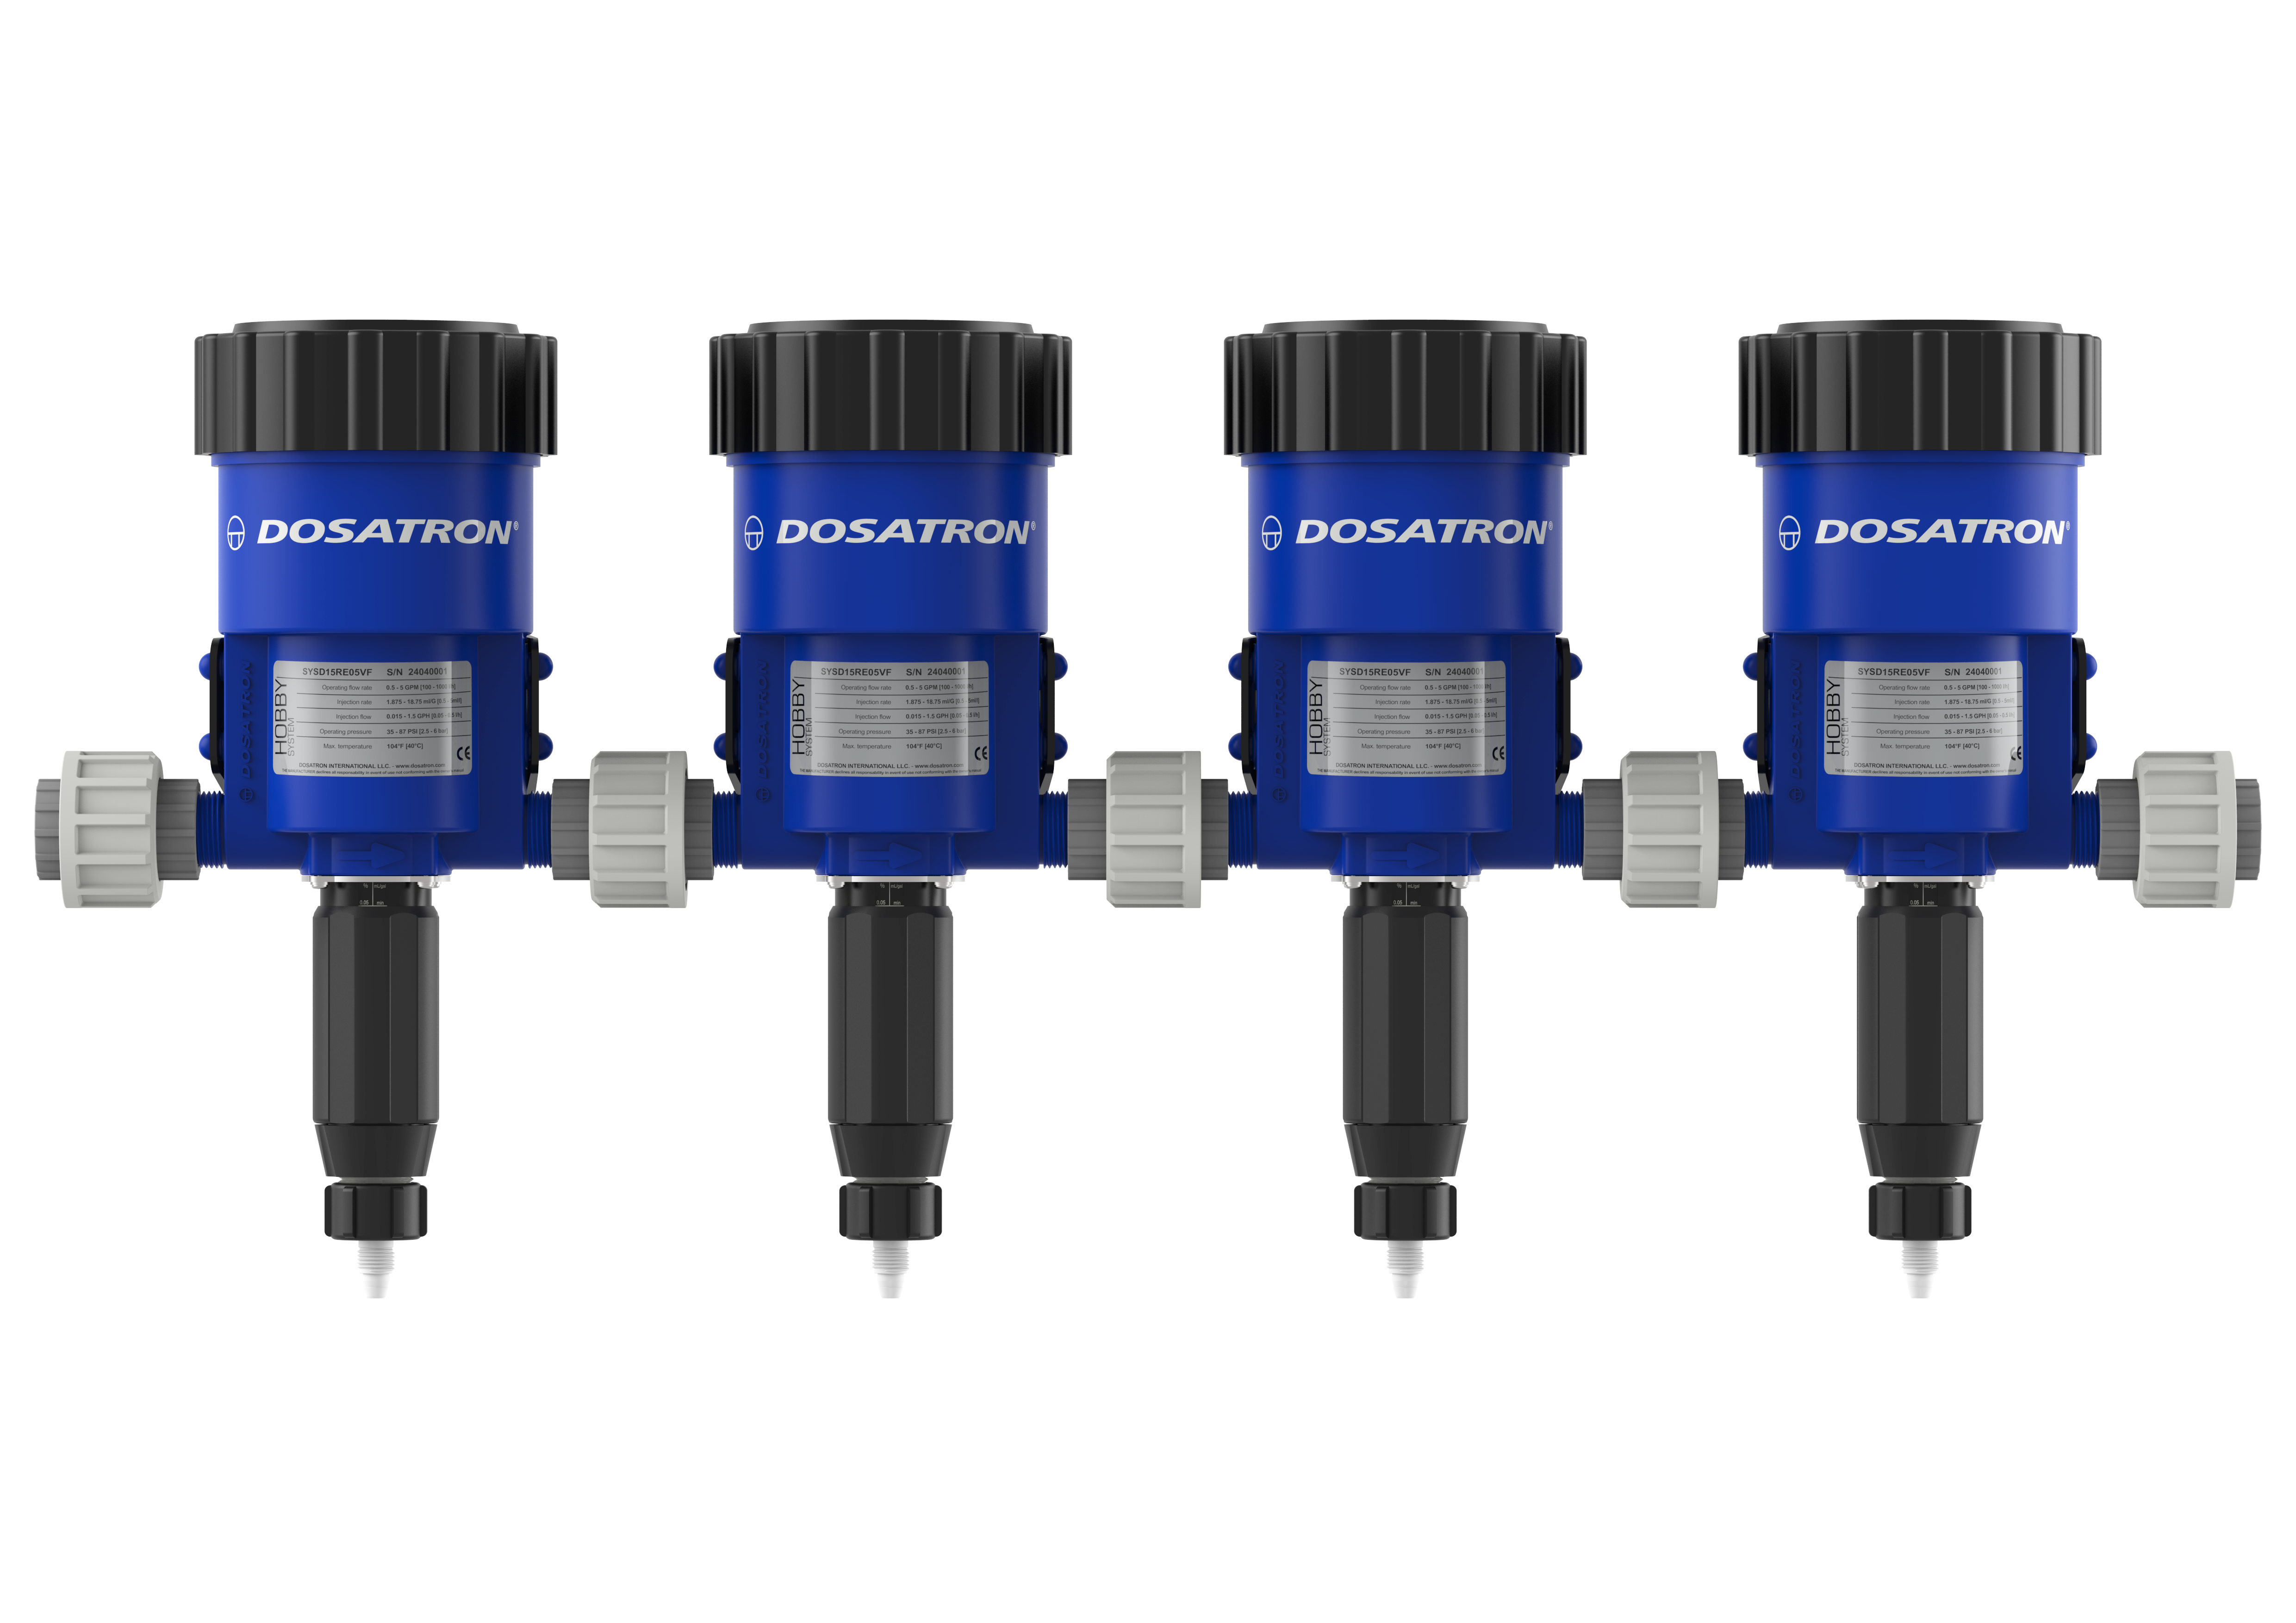
The Hobby Cultivator by Dosatron is a revolutionary multi-pump system designed specifically for indoor grows.
Imagine never having to worry about manually mixing and measuring nutrients again. The Hobby Cultivator leverages Dosatron's unique water-powered dosing technology to automatically deliver the perfect blend of nutrients and fertilizers directly to your plants. This means healthier plants, less work for you, and more time to enjoy your indoor oasis.
The Hobby Cultivator is perfect for a wide range of setups, from small grows with just a few plants to larger operations with dozens. Easy to expand as your garden grows, its simple design allows you to spend less time tinkering and more time cultivating your green thumb.
With the Hobby Cultivator by Dosatron as part of your basement grow room arsenal, you can achieve consistent, reliable results, even if you're a busy plant parent. So, ditch the measuring cups and embrace the future of effortless indoor gardening!
Order your Dosatron Hobby Cultivator hydroponic growing system today and seamlessly grow your favorite consumable crops!
 Afghanistan(EN)